Posts Tagged ‘Herbs’
Save Yourself A Trip To The Market: Build Your Own Hanging Window Herb Garden
July 30th, 2011 | Rachel
This hasn’t been a how-to blog so far, but due to the dearth of information available on urban herb gardens (herban gardens?), I am going to share with you my (so far) successful design for a hanging window herb garden. Even if you do not lack private outdoor space like I do, this could still be a good use of a particularly sunny window or an easy way to get all of your cooking herbs within reach.
I purchased all of the materials for this project from Home Depot (for the New Yorkers in the house, I went to the 23rd St. location). I got the herb plants from the Chelsea Garden Center (11th Ave. @ 44th St.).
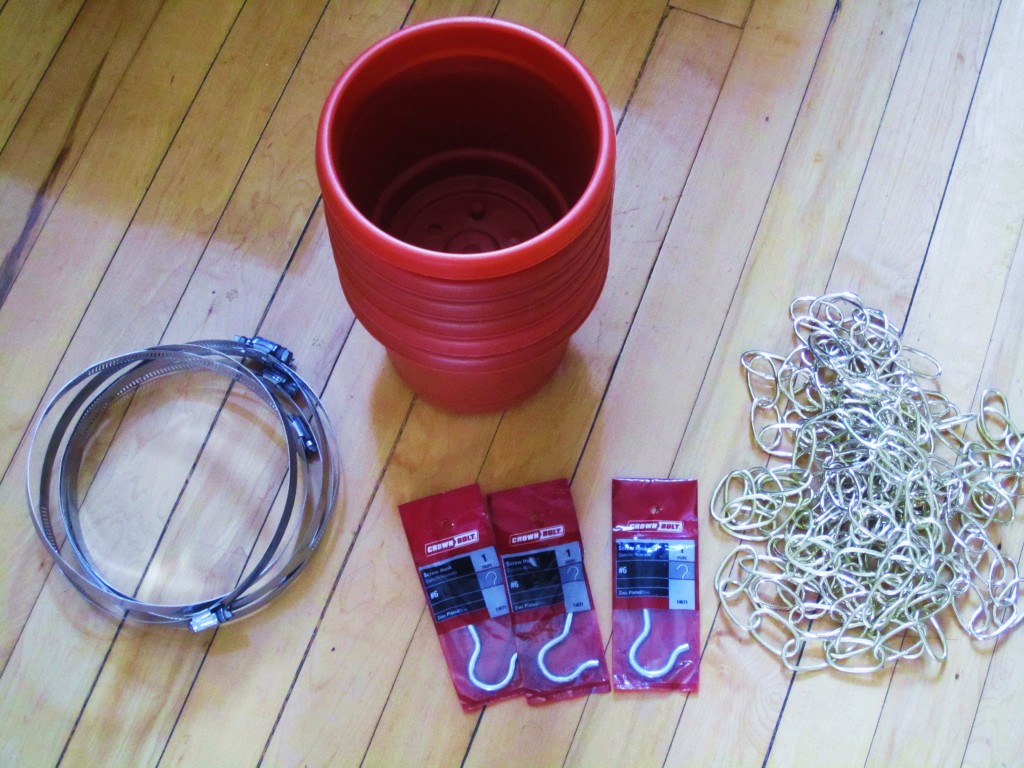
To make a hanging window herb garden, you will need:
– 6″ plastic flower pots
– 8″ adjustable pipe clamps
– Screw-in wall hooks
– Chain
– Small screws
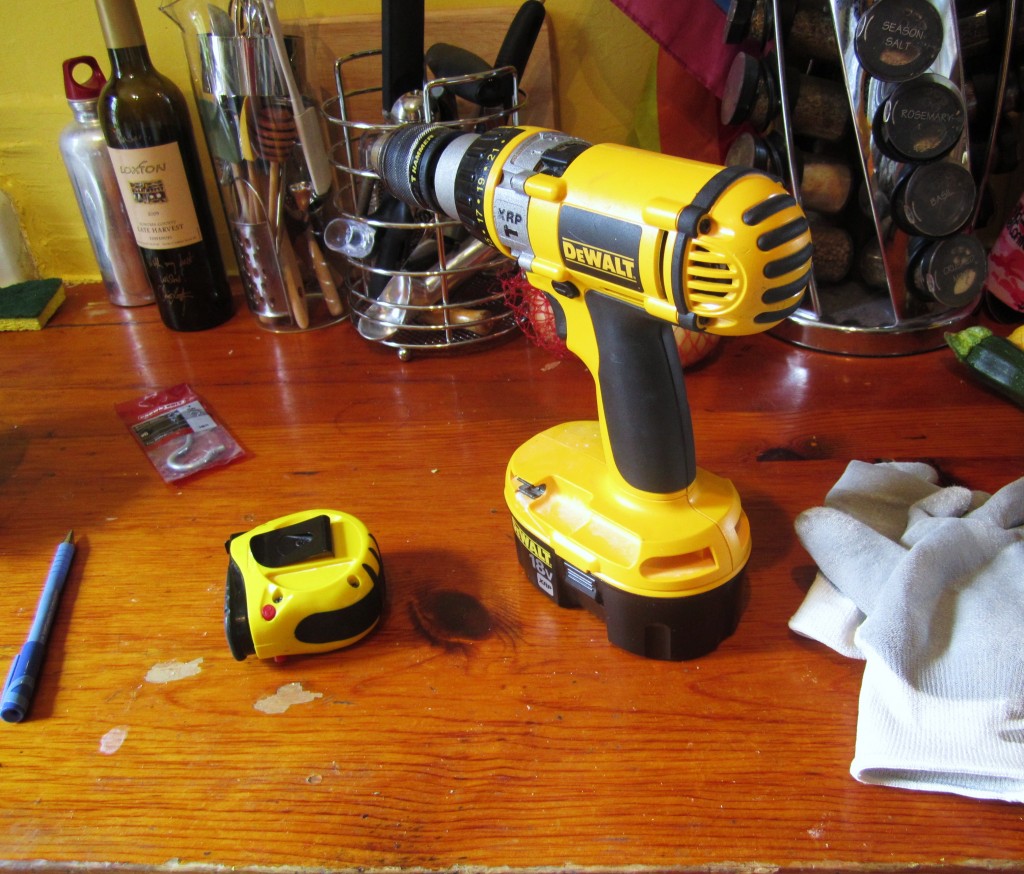
You will also need:
– Measuring tape
– Drill
– Pliers
– Screwdriver
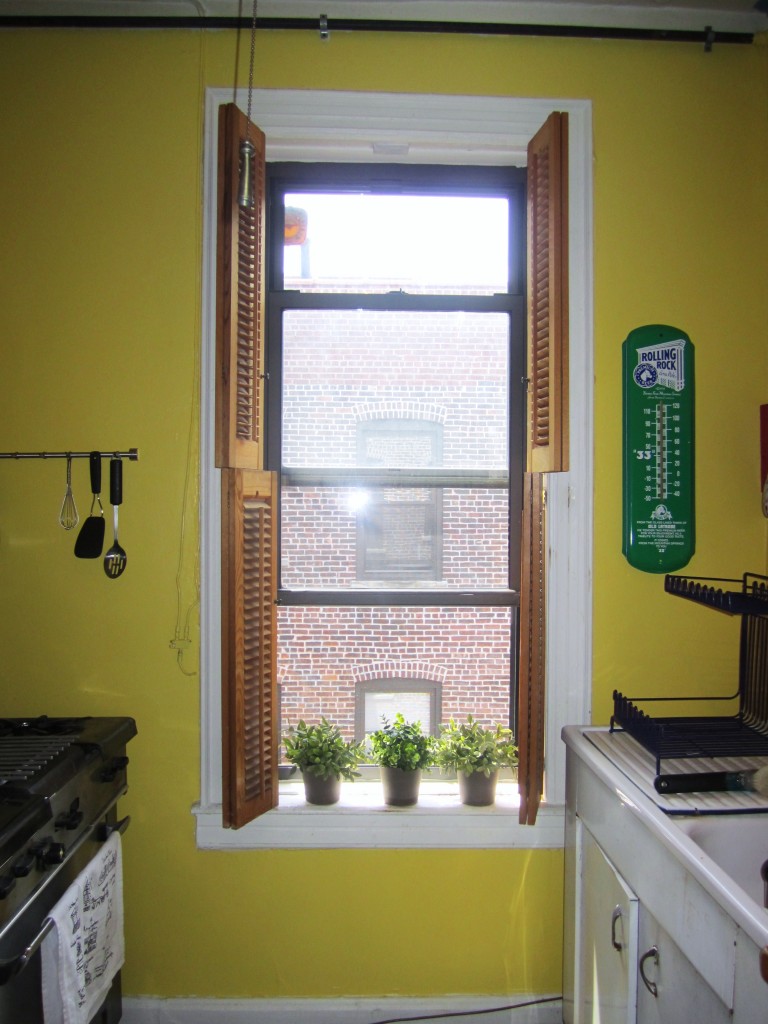
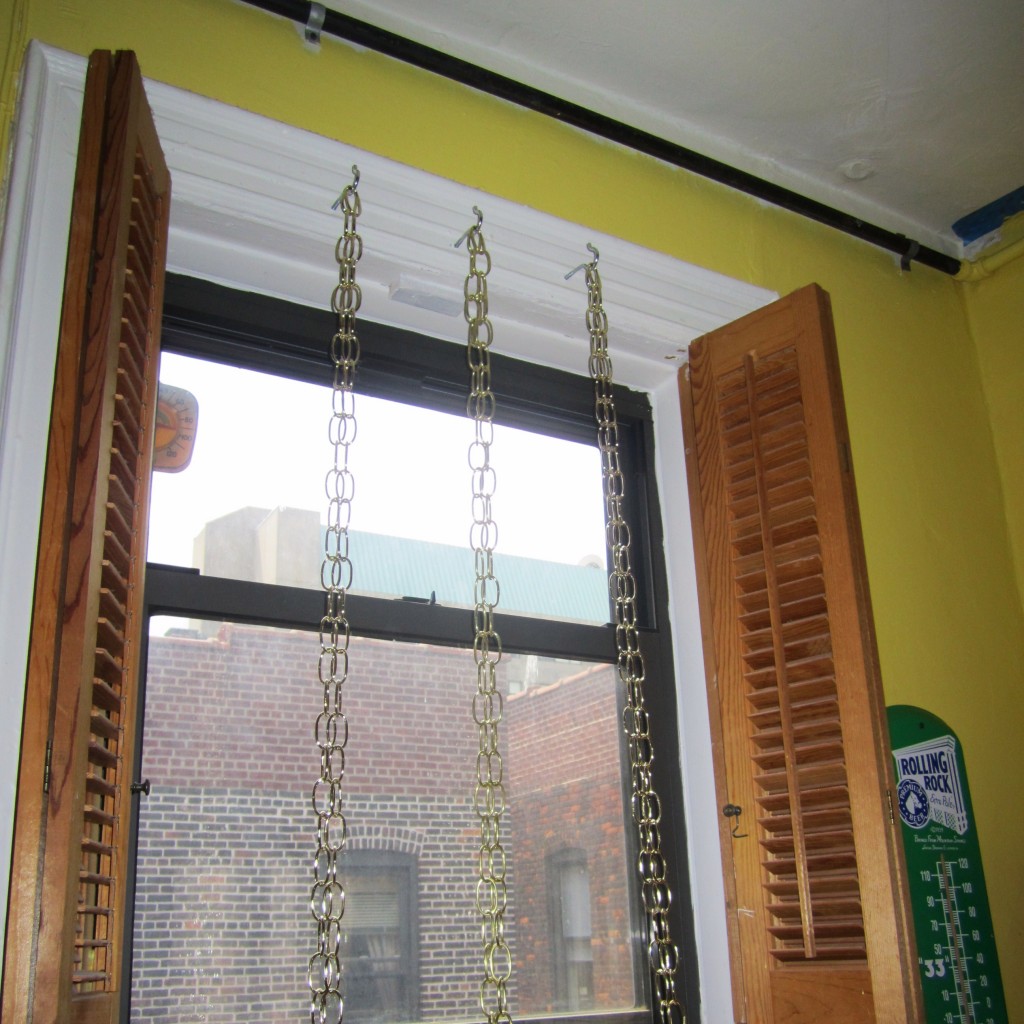
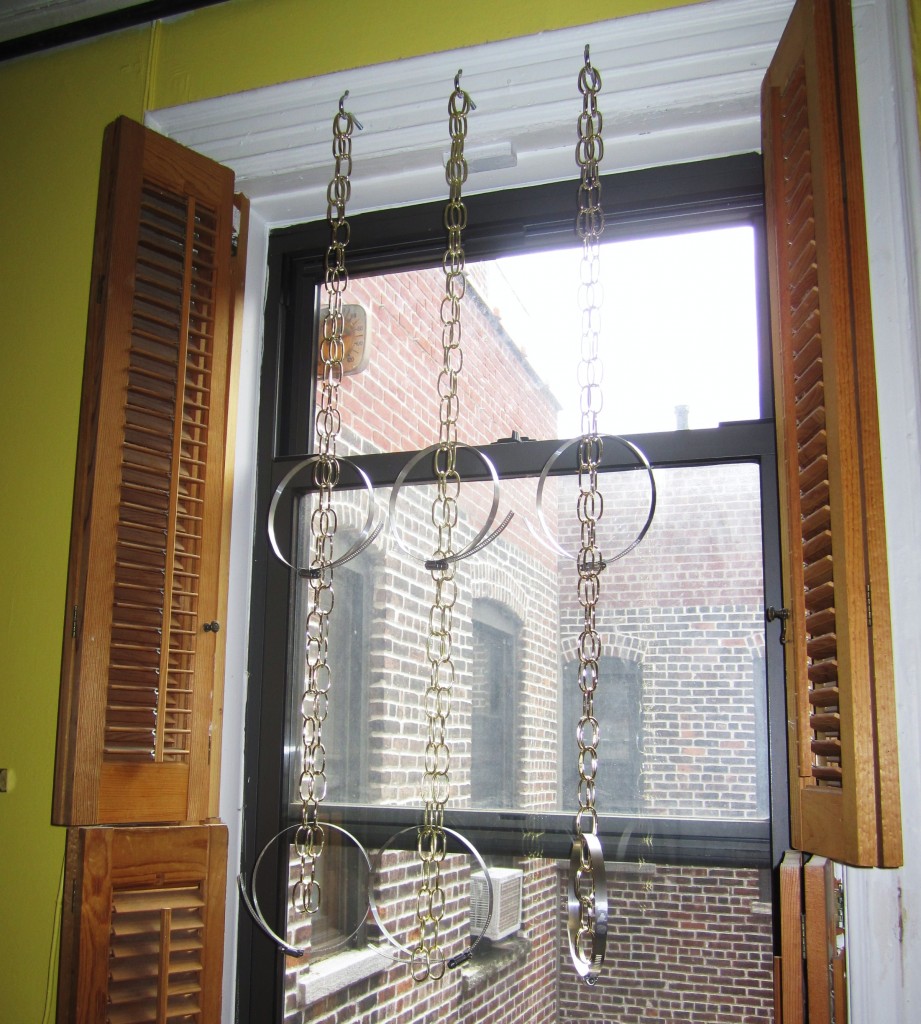
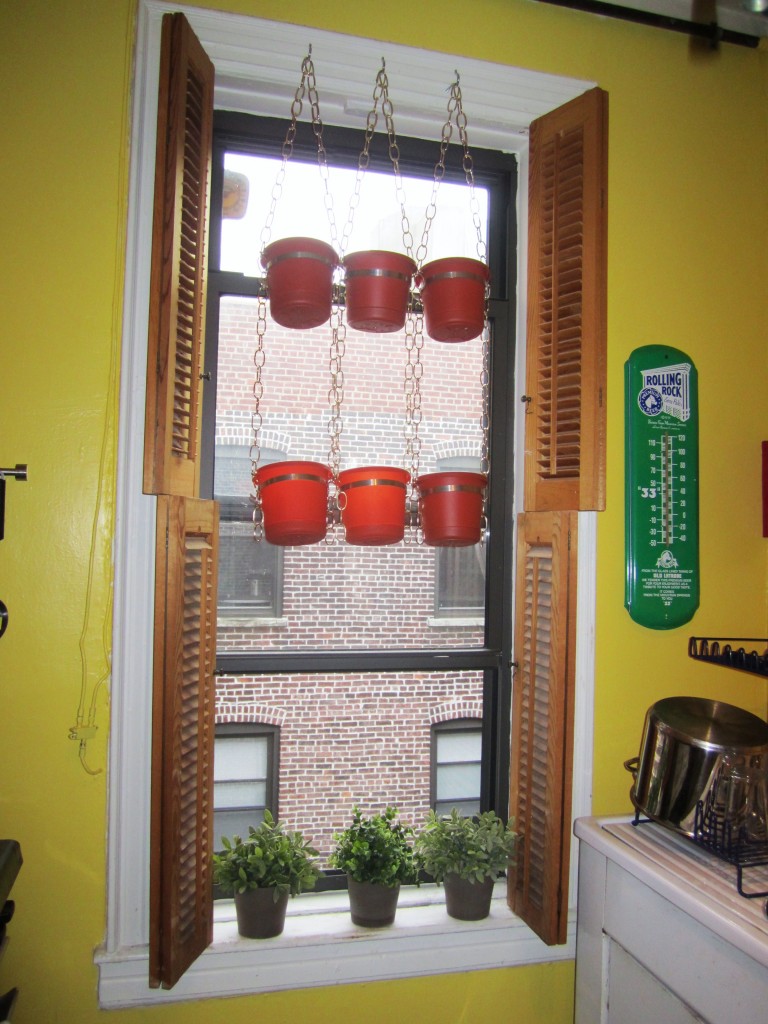
This project is best suited for a tall window with plenty of sun exposure… a window kind of like this one:
I decided to make my herb garden with three hanging columns of two flower pots each, but you could make yours with any number or configuration as long as your hooks can handle the weight of the plants. Before your trip to the hardware store, measure your window and the space you wish to use for your garden. You will need to know how tall your columns are going to be before you purchase the chain.
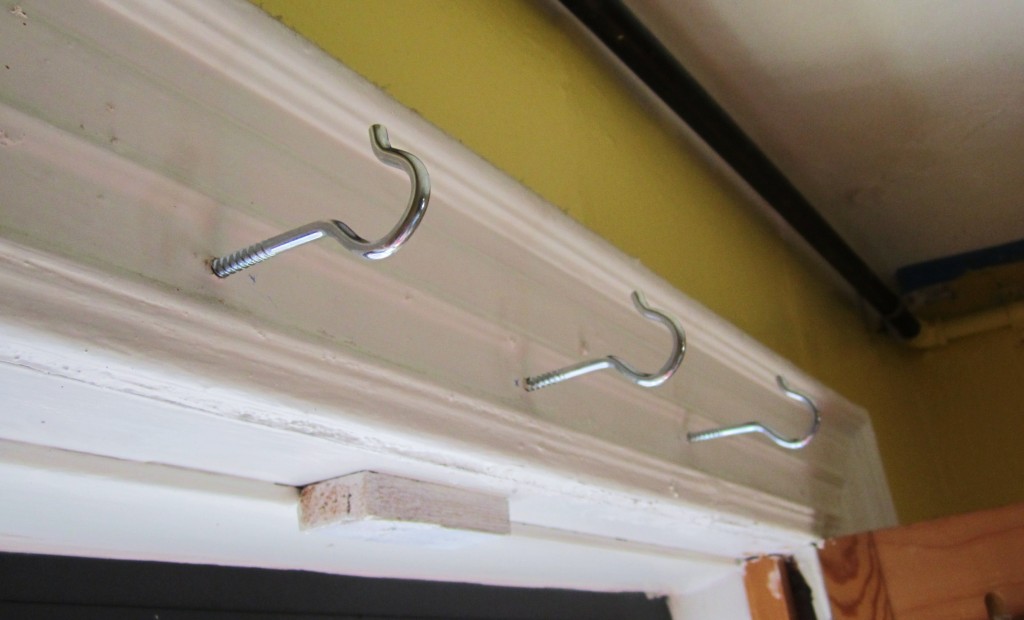
Once you have the proper supplies, the first step is to mark and drill pilot holes and install the screw-in hooks. I got my hooks about halfway in before my wimpy hands couldn’t turn them anymore. They seem pretty sturdy already, but I am going to get Steve to finish the job when he gets back.
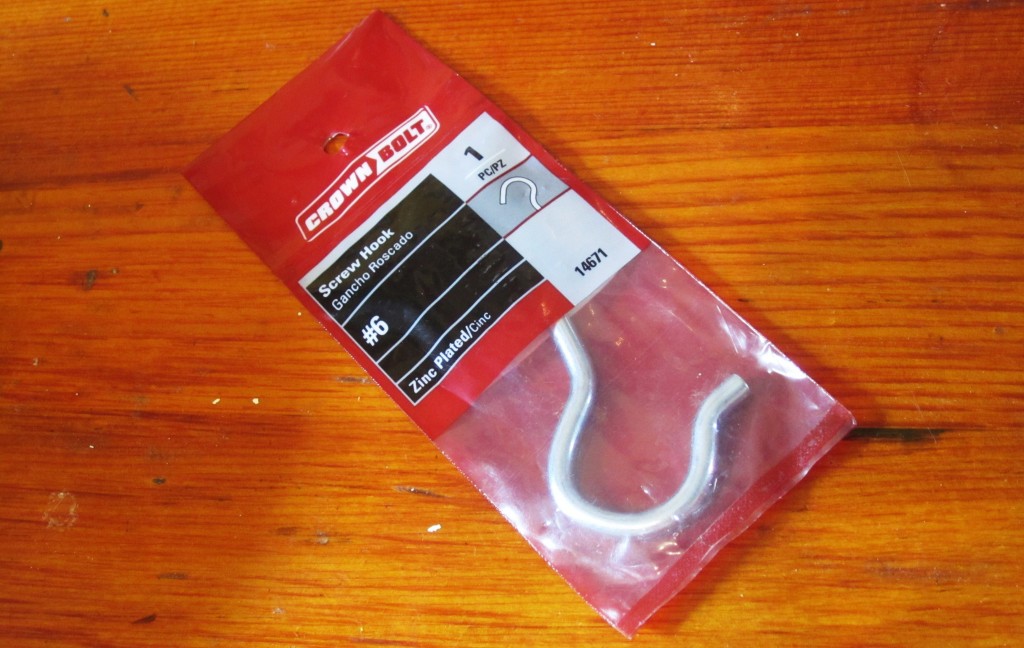
The hooks I got per the recommendation of an employee at Home Depot
The hooks should go directly into the window pane — NOT the wall
The second step is simple: hang the custom-cut chains on the hooks. It probably won’t make a difference, but I looped two links on the hook instead of one to distribute the weight.
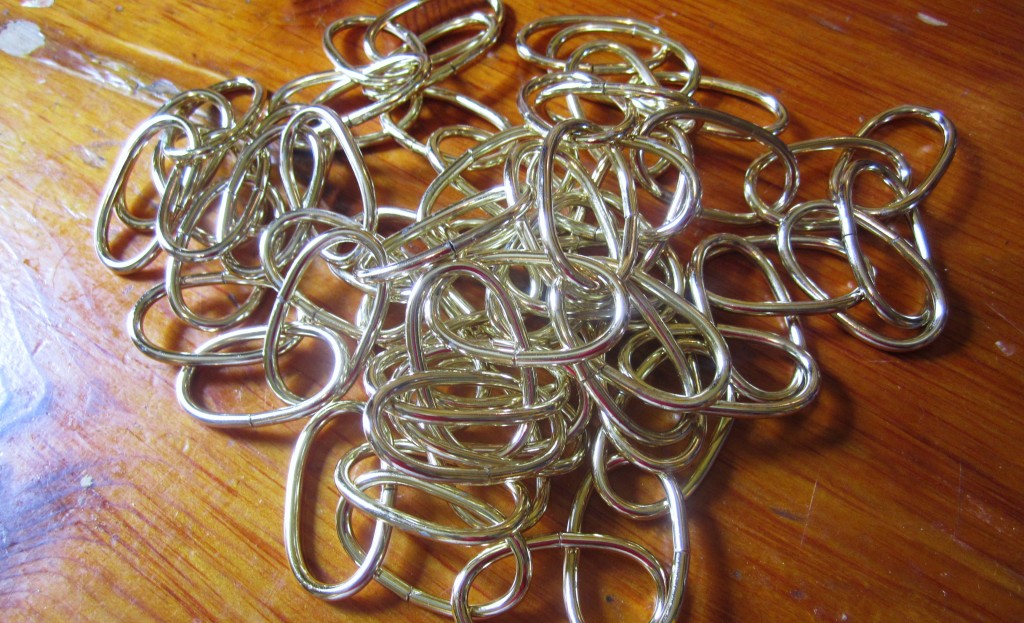
I had wanted to get a smaller chain, but the guy at Home Depot said he didn’t think it would be strong enough. This particular chain is intended to be used with plants.
Chains are ready to go
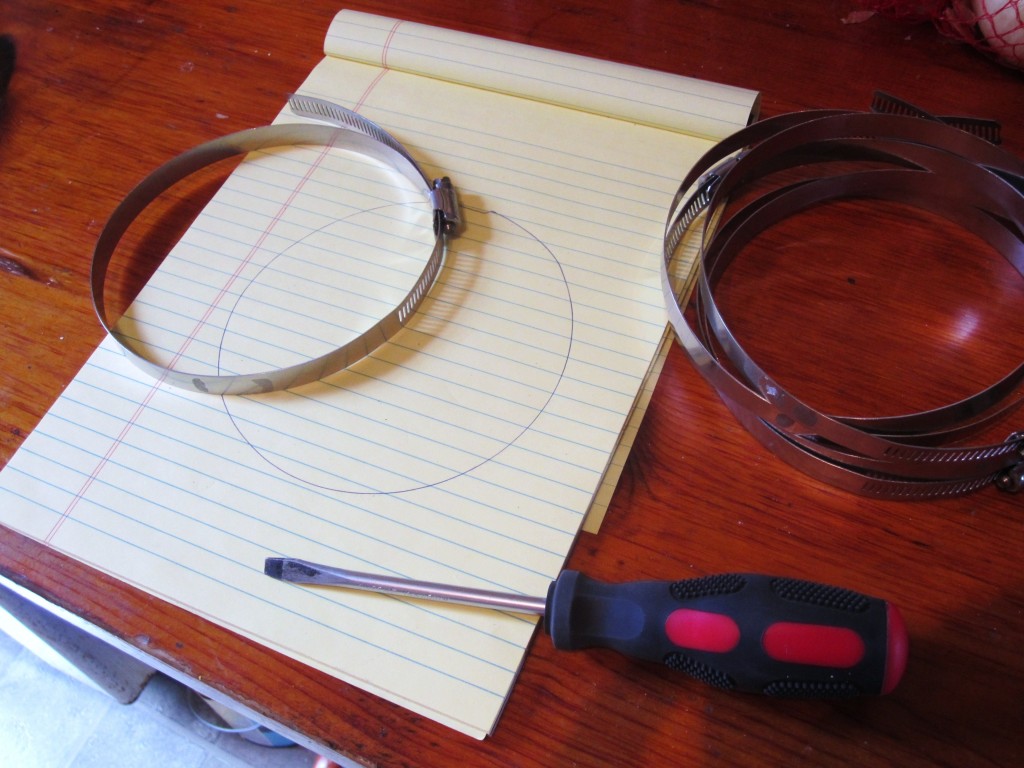
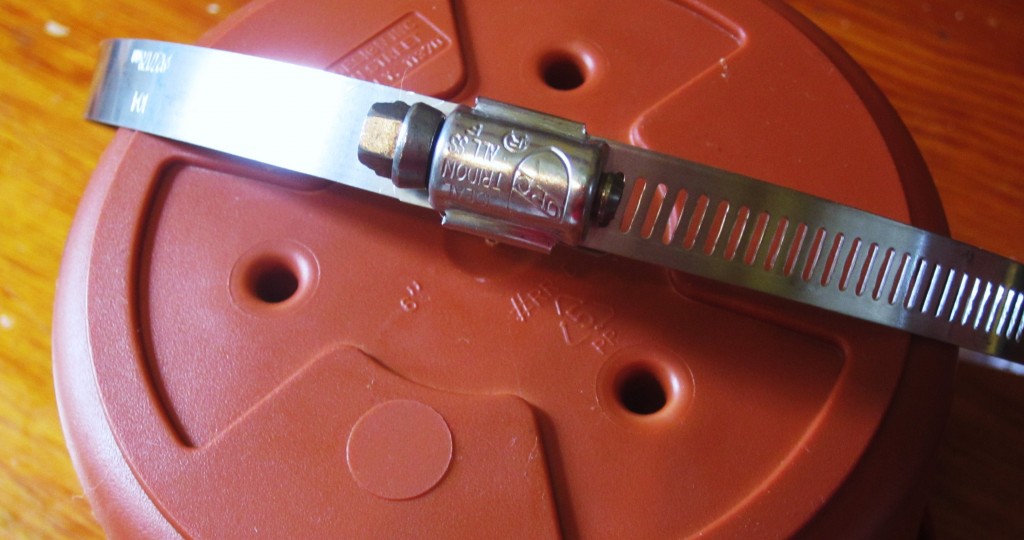
The third step is to tighten the pipe clamps to fit the flower pots. This perfectly suited part was suggested by one of the employees at Home Depot. I showed him my drawing and explained what I was trying to do, and he simply said “Follow me,” and led me to the plumbing section. He then introduced me to the pipe clamp and explained how I could adjust the size of the circle with a screw driver.
Adjusting the pipe clamps
Turning this screw changes the circumference of the clamp
The fourth step is to attach the pipe clamps to the hanging chains. You first will need to determine how far apart you want your flower pots to hang. Then use pliers to pry open the designated chain links just big enough to slide in the pipe clamp.
After this step, your neighbors will start wondering what sort of kinky torture device you are building in your kitchen.
I tried placing the flower pots into the pipe clamps at this point, but a design flaw became immediately apparent. The flower pots inevitably tilted, and the chains slid around to one side of the pipe clamps causing the flower pot to tilt even more to the point that the contents of the flower pot would assuredly end up on the floor. This was a frustrating discovery.
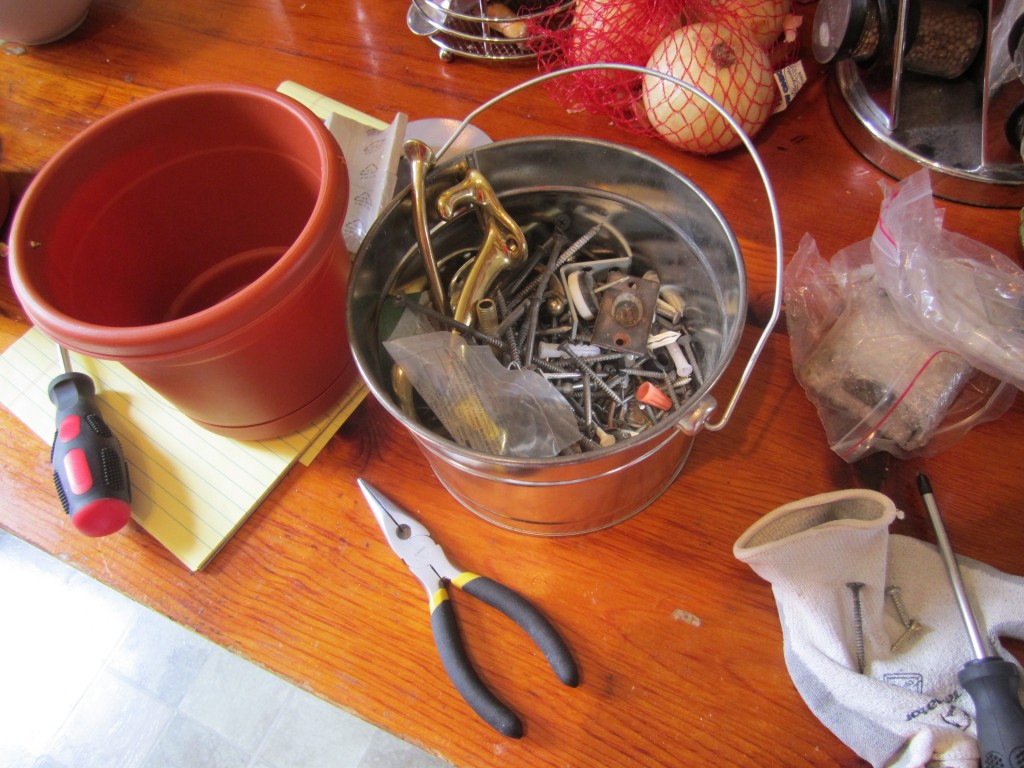
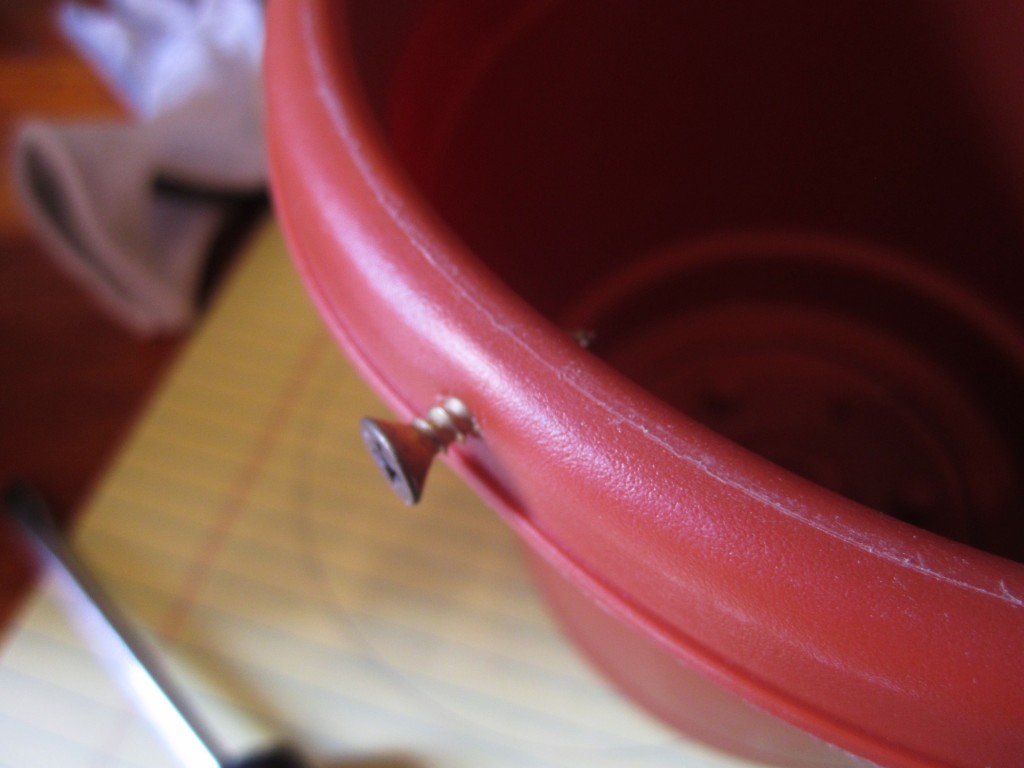
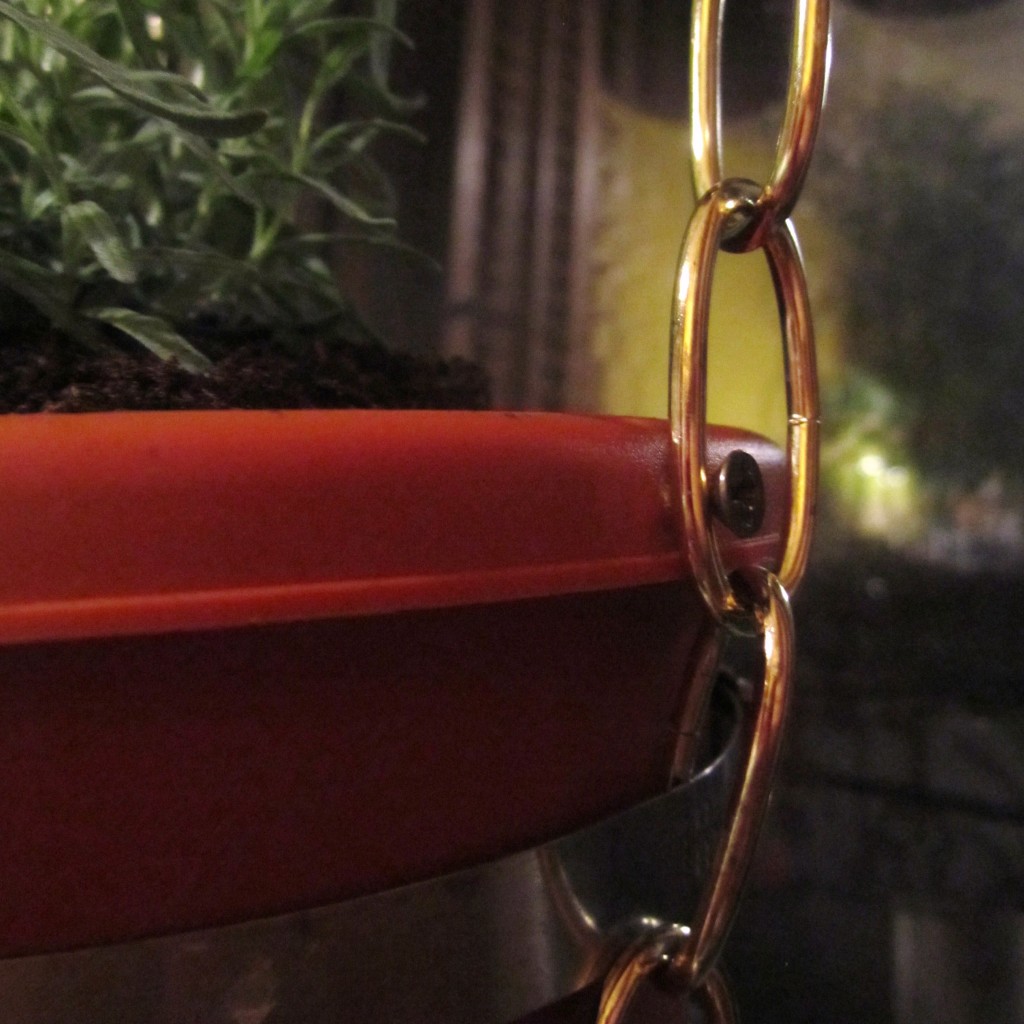
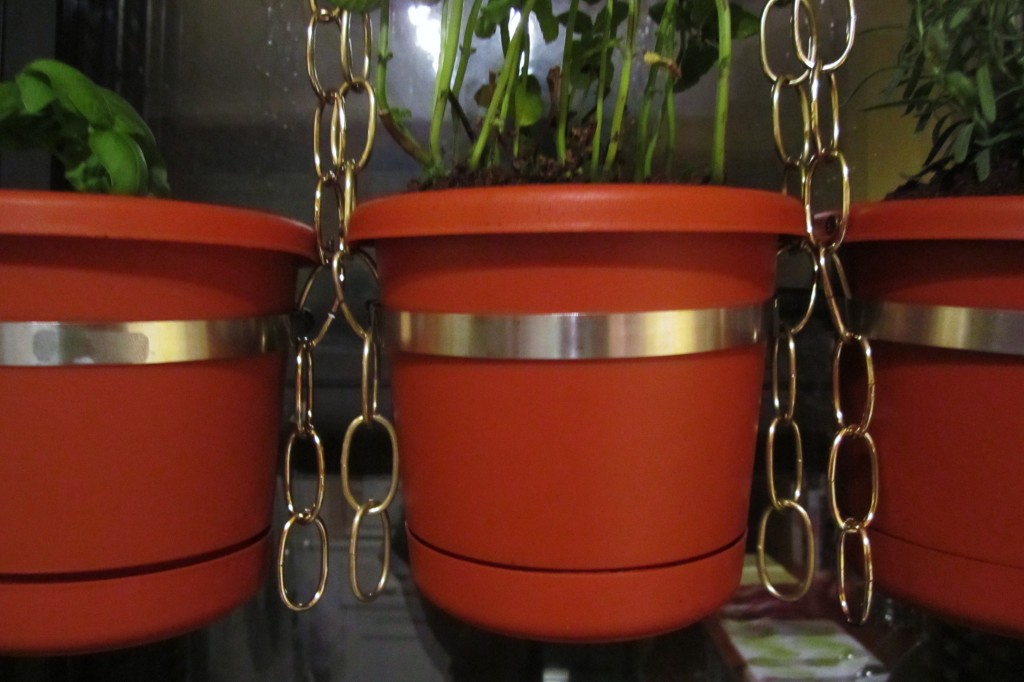
However, I then decided to put on my problem-solving lawyer pants, and added an anti-tilt device. I got out Steve’s magic bucket of odds and ends and found twelve small screws. I then drilled holes into adjacent sides of the rims of the flower pots and inserted the screws. The result were little Shrek-like ears that catch the links of chain above the pipe clamp and prevent the flower pot from tilting.
Steve’s Magic Bucket
Anti-tilt device
Anti-tilt device in action
The final step is to place the flower pots into the pipe clamps. You might have to adjust the size of the clamps the first time you put the flower pots into the rings.
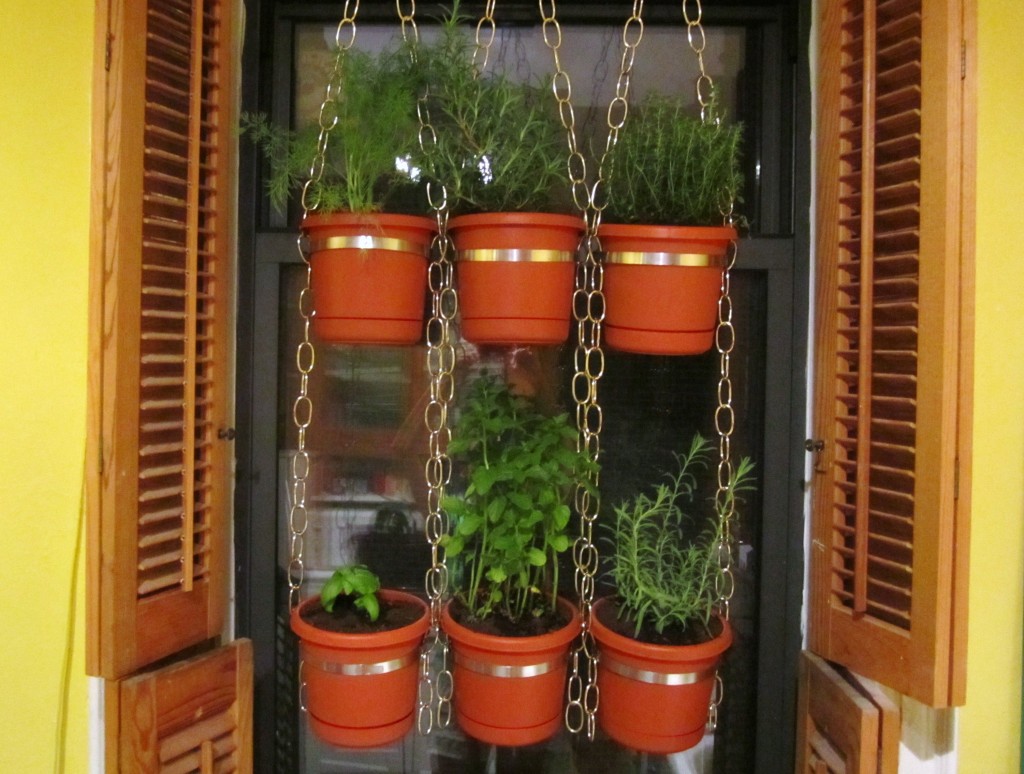
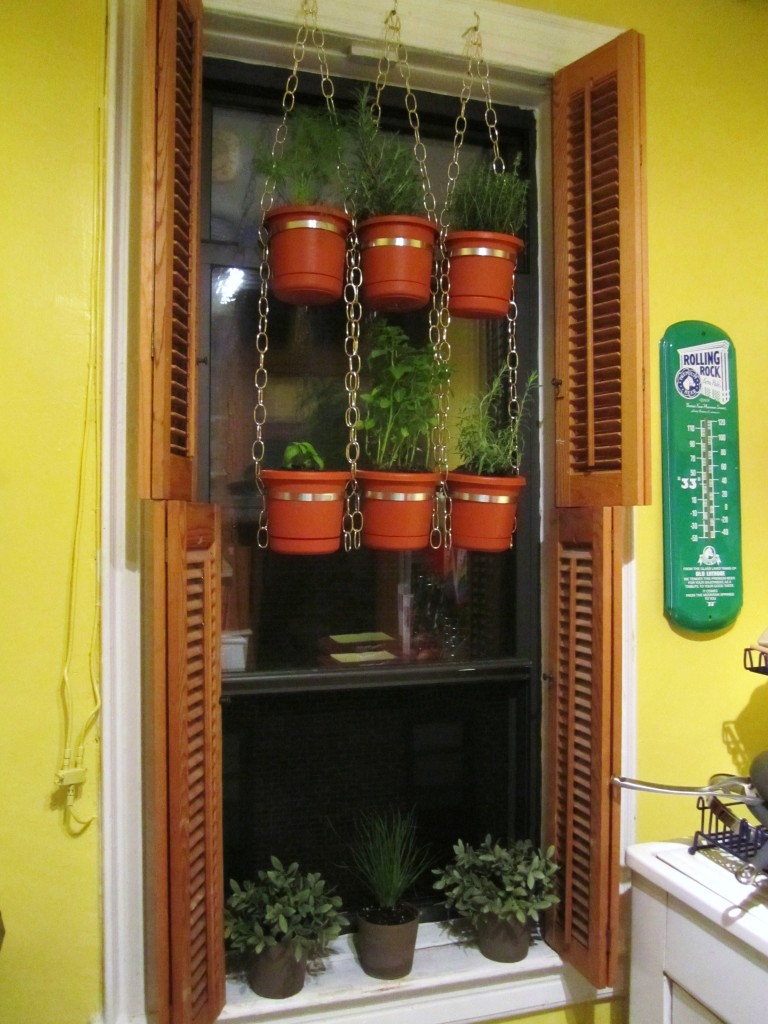
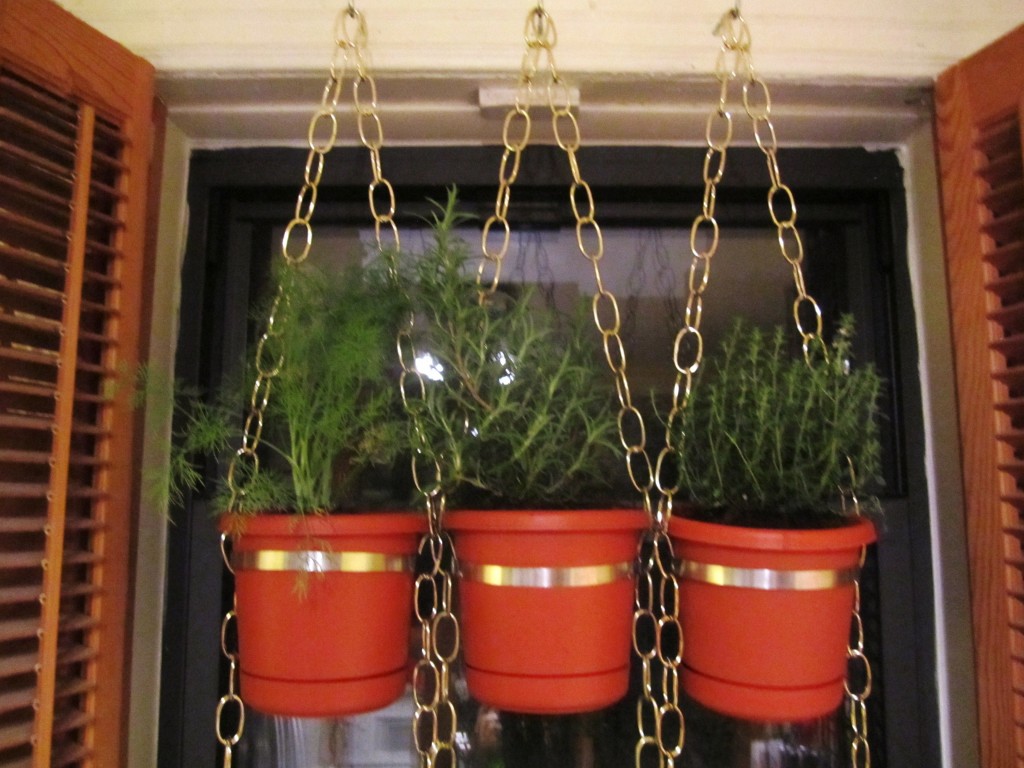
Hanging Window Herb Garden
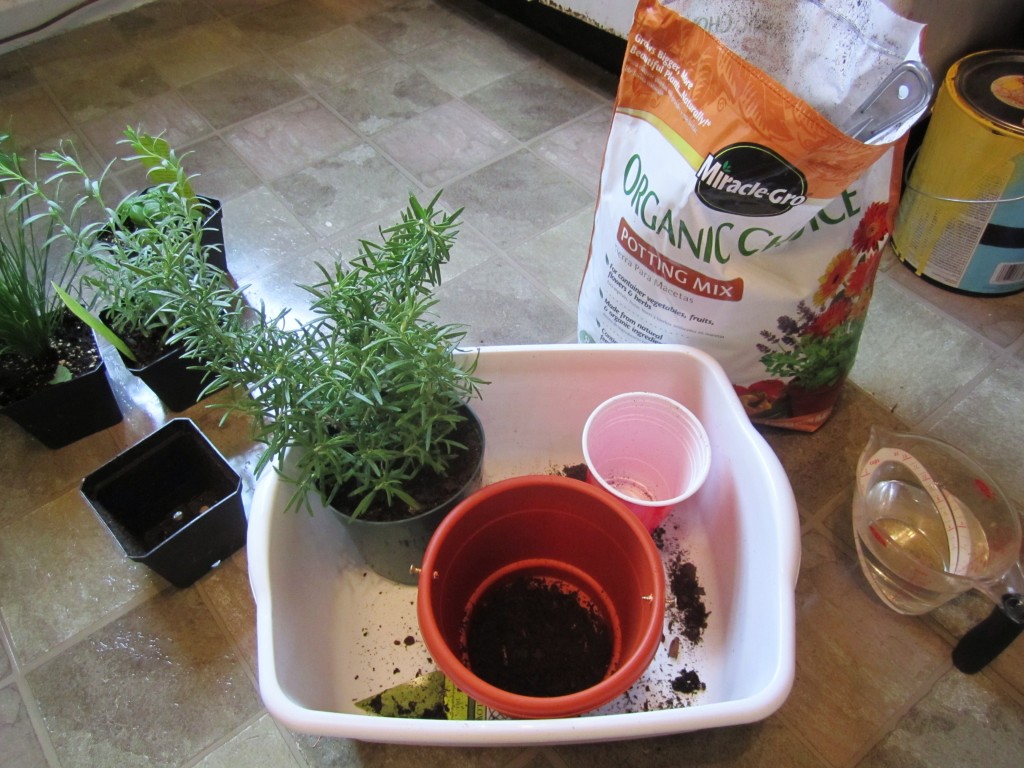
Now all you need to do is add your herbs! The beauty of this design is the flower pots are easily removed for planting and pruning.
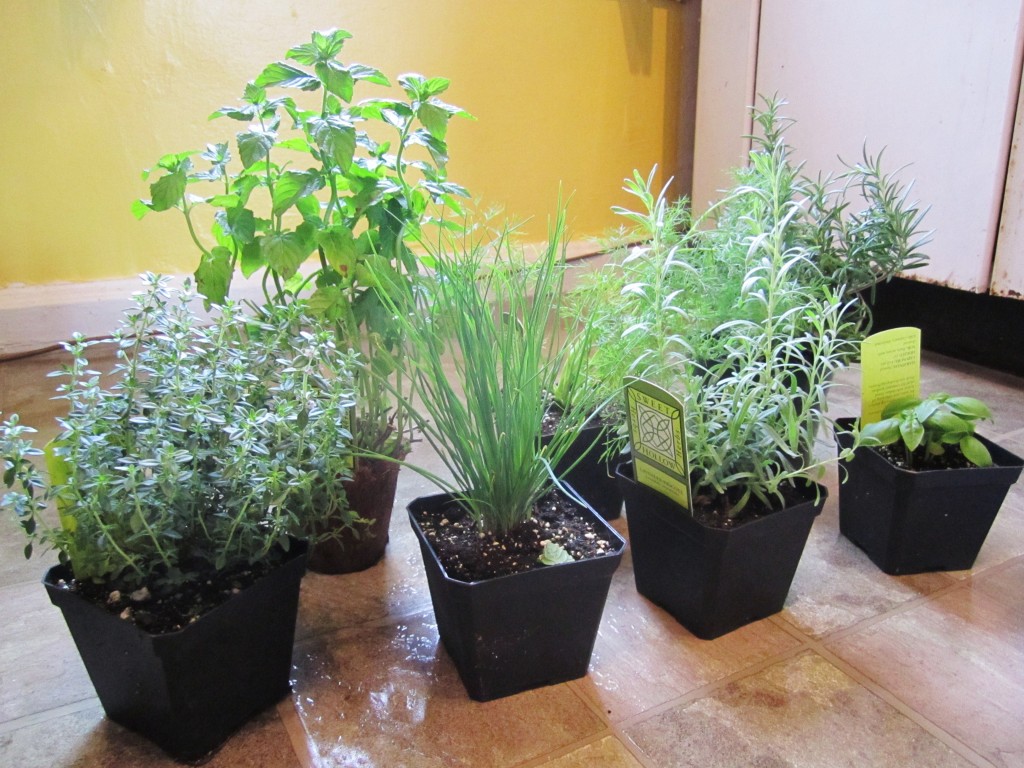
Thyme, mint, chives, rosemary, lavender, dill and basil
Urban Gardening
And that is how you make a hanging window herb garden! If you have any suggestions or other ideas, please share. If you make your own hanging window herb garden, definitely share that too. Here are a few photos of the finished project:
